Sharing my Learning in a "Digital Garden"

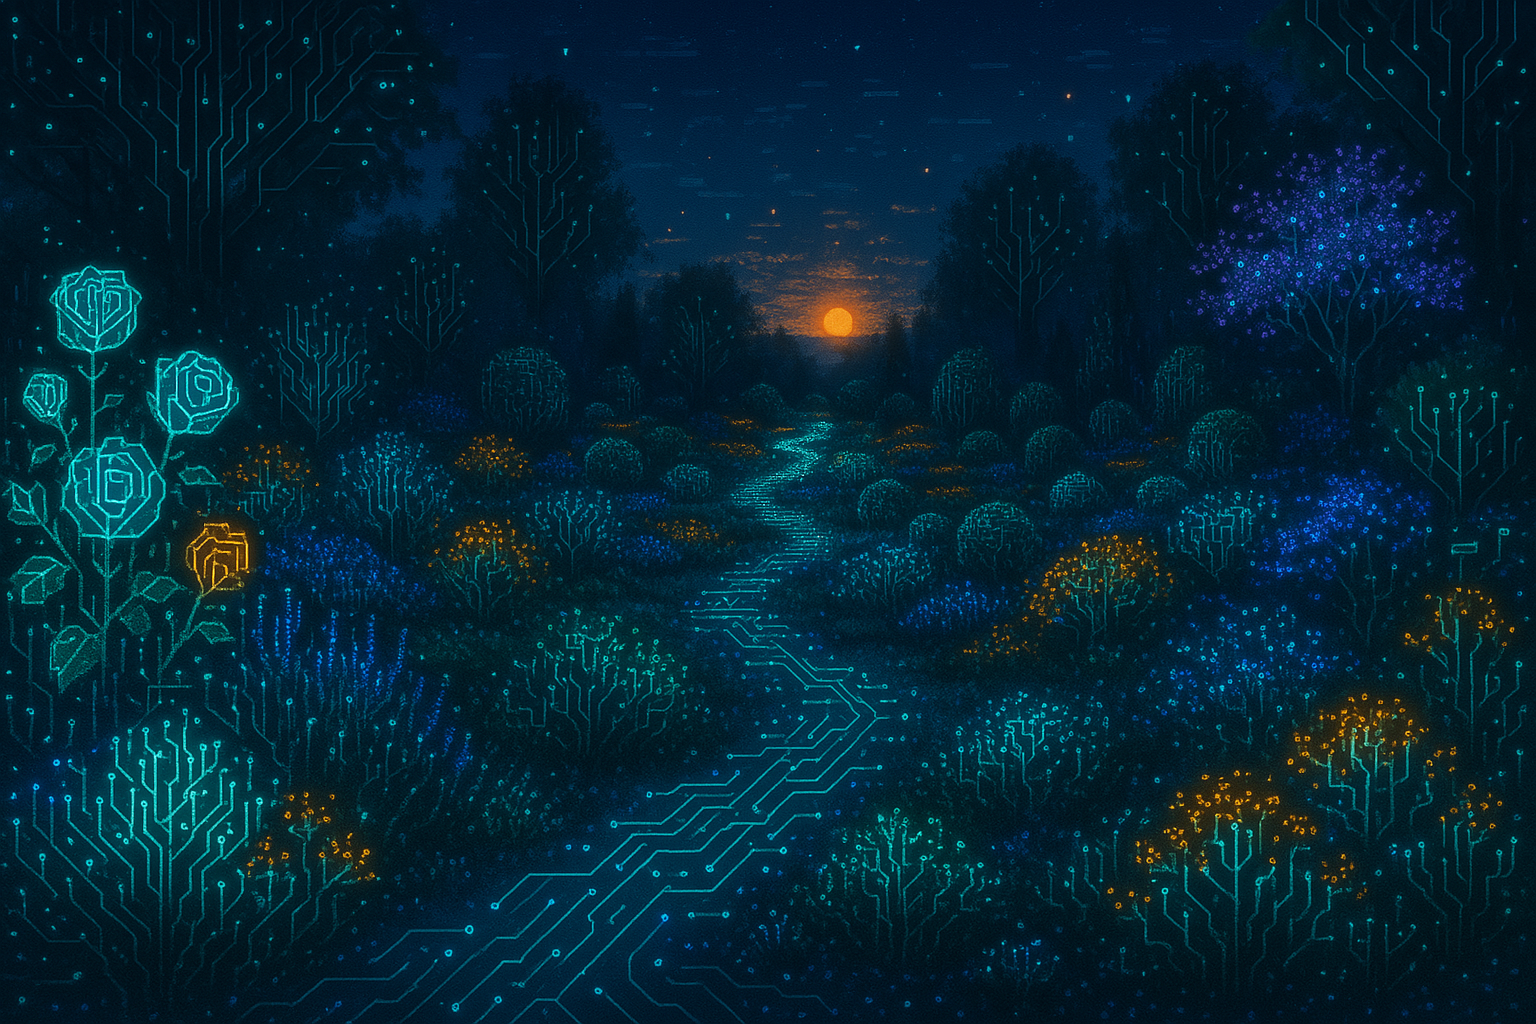
In the digital era, the concept of a “digital garden” has emerged as a dynamic and flexible approach to personal knowledge management and content sharing. Unlike traditional blogs, which often present finalized ideas in a linear format, digital gardens allow individuals to cultivate and showcase evolving thoughts, notes, and research in a non-linear, interconnected manner. This method not only facilitates continuous learning and refinement but also encourages public collaboration and feedback.
I started my digital garden at https://digitalgarden.corti.com
Advantages of a Digital Garden
- Continuous Evolution: Digital gardens are designed to grow and change over time. They provide a space where ideas can be planted as “seeds” and nurtured into fully developed concepts (trees). This ongoing process reflects the natural progression of learning and understanding.
- Non-Linear Structure: Unlike traditional blogs that follow a chronological order, digital gardens employ a networked structure. Notes and ideas are interlinked, allowing for a more organic exploration of topics and the relationships between them.
- Public Knowledge Sharing: By making your digital garden accessible to others, you open the door to collaborative learning. Peers can provide feedback, contribute insights, and engage in discussions, enriching the overall knowledge base.
- Personalized Learning Environment: A digital garden serves as a personalized repository of information, tailored to your interests and learning journey. It becomes a reflection of your intellectual growth and areas of focus.
Creating a Digital Garden with Obsidian, Quartz, and GitHub Pages
To establish your own digital garden, you can integrate several tools to streamline the process.
1. Setting Up Your Obsidian Vault
Obsidian is a powerful knowledge base that operates on local Markdown files, offering a robust platform for note-taking and idea development.
- Install Obsidian: Download and install Obsidian from the official website.
- Create a New Vault: Upon launching Obsidian, create a new vault where you’ll store all your notes and content for the digital garden.
- Organize Your Notes: Structure your notes using folders and interlink them to establish connections between related ideas.
2. Integrating Quartz for Static Site Generation
Quartz is a framework that transforms your Markdown files into a static website, facilitating the publication of your digital garden.
- Clone (or fork) the Quartz Repository: Open your terminal and execute the following command to clone the Quartz repository:
git clone https://github.com/jackyzha0/quartz.git- Navigate to the Quartz Directory: Move into the cloned repository’s directory:
cd quartz- Install Dependencies: Ensure you have Node.js installed, then install the necessary packages:
npm install- Create Your Quartz Configuration: Initialize Quartz with your specific configurations:
npx quartz create- Customize Quartz Settings: Edit the quartz.config.ts file to personalize your site’s settings, such as title, author, and description.
3. Importing Obsidian Notes into Quartz
To integrate your Obsidian notes into Quartz:
- Prepare Your Notes: Ensure your Obsidian notes are formatted correctly in Markdown and organized within your vault.
- Copy Notes to Quartz Content Folder: Copy your Markdown files from the Obsidian vault into the content directory of your Quartz project.
- Build the Site Locally: To preview your digital garden locally, run:
npx quartz build --serveThis command will start a local server, typically accessible at http://localhost:8080, where you can view your site.
4. Hosting on GitHub Pages
To publish your digital garden online using GitHub Pages:
- Create a New GitHub Repository: Set up a new public repository on GitHub to host your site.
- Add Remote Origin: In your terminal, link your local Quartz project to the GitHub repository:
git remote add origin https://github.com/yourusername/your-repo-name.git- Push Your Project to GitHub: Commit and push your local project to the remote repository:
  git add .
  git commit -m "Initial commit"
git push origin main- Enable GitHub Pages: In your repository settings on GitHub, navigate to the “Pages” section and set the source to the main branch. GitHub will then generate a URL where your digital garden is hosted.
By following these steps, you create a seamless workflow from note-taking in Obsidian to publishing a dynamic digital garden online. This setup not only enhances personal knowledge management but also fosters a collaborative environment where ideas can flourish and evolve.